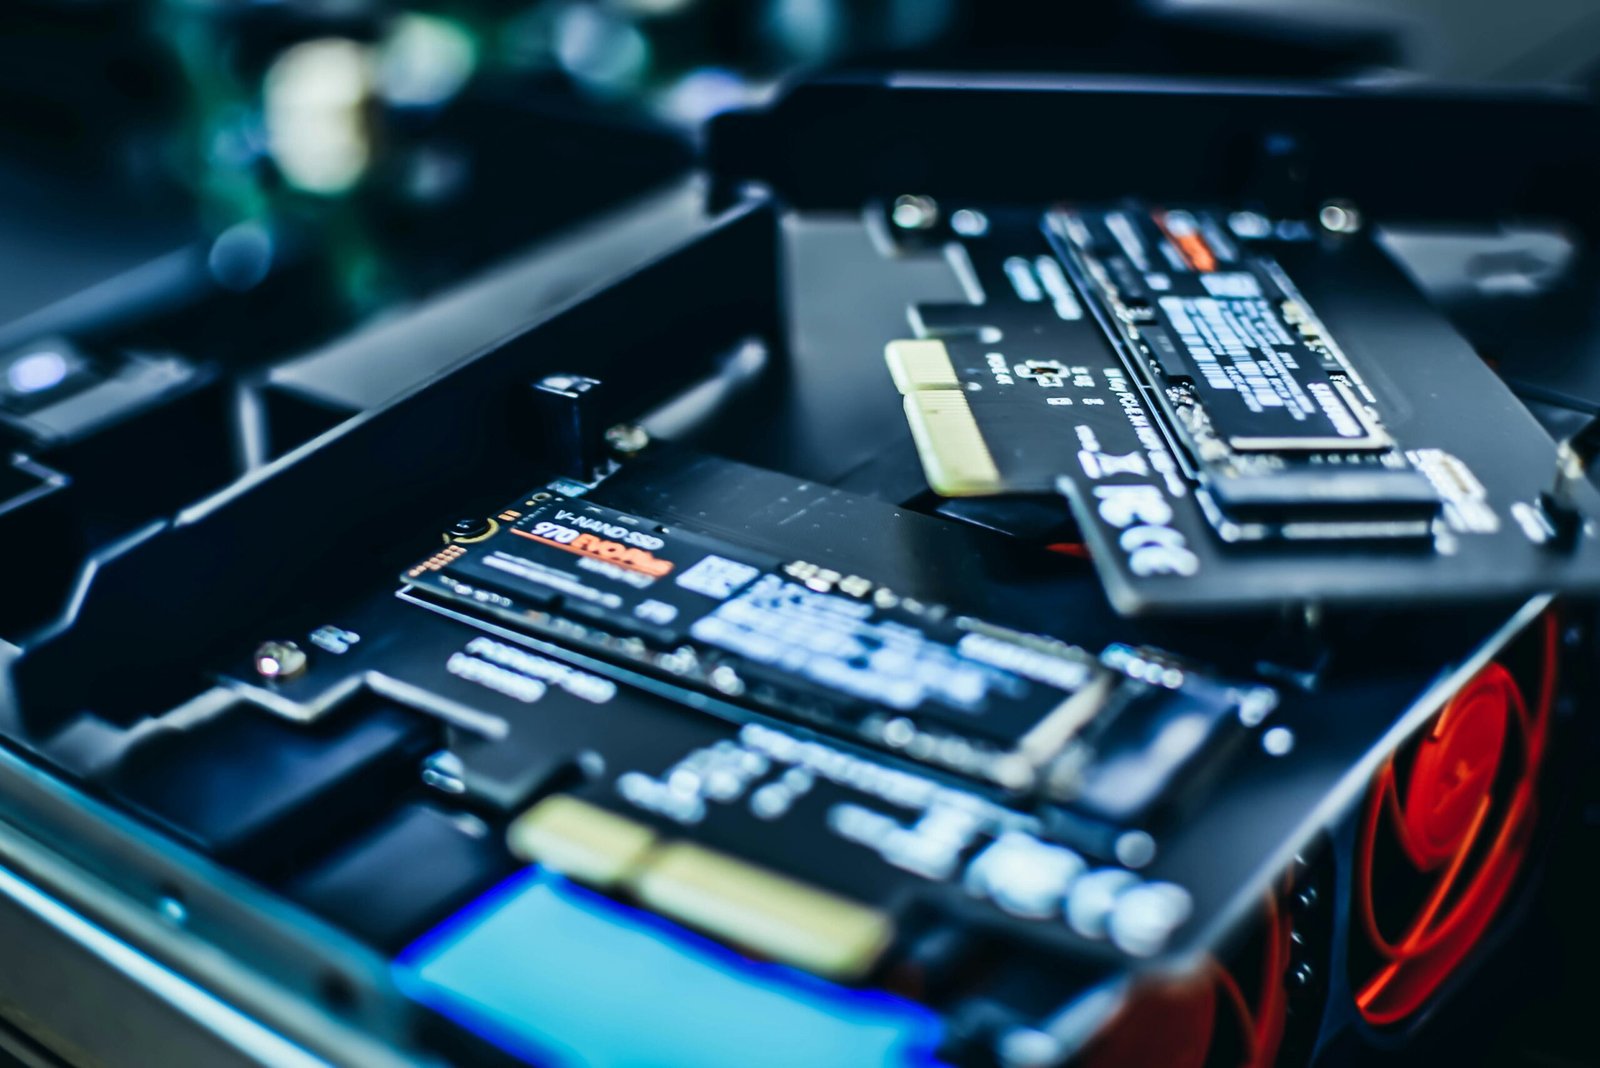
black and gray computer motherboard

Top 10 Best SSD Hard Drives

Introduction

Welcome to our list of the top 10 best SSD hard drives! If you’re in the market for a new solid-state drive (SSD) to boost your computer’s performance, you’ve come to the right place. In this article, we’ll be highlighting some of the most reliable and high-performing SSDs available on the market today.

1. Samsung 970 Evo Plus

The Samsung 970 Evo Plus is a top-of-the-line SSD that offers lightning-fast speeds and impressive storage capacity. With read and write speeds of up to 3,500 MB/s and 3,300 MB/s respectively, this SSD is perfect for gamers and professionals who require high-performance storage.

2. Western Digital Black SN750

The Western Digital Black SN750 is another excellent choice for those seeking a high-performance SSD. With read and write speeds of up to 3,470 MB/s and 3,000 MB/s respectively, this SSD delivers exceptional performance for gaming and intensive workloads.

3. Crucial MX500

The Crucial MX500 is a reliable and affordable SSD that offers great value for money. With read and write speeds of up to 560 MB/s and 510 MB/s respectively, this SSD provides a significant improvement over traditional hard drives at an affordable price point.

4. Kingston A2000

The Kingston A2000 is a budget-friendly SSD that doesn’t compromise on performance. With read and write speeds of up to 2,200 MB/s and 2,000 MB/s respectively, this SSD offers great value for money and is perfect for everyday computing tasks.

5. SanDisk Extreme Pro

The SanDisk Extreme Pro is a high-end SSD that delivers exceptional performance and durability. With read and write speeds of up to 3,400 MB/s and 2,800 MB/s respectively, this SSD is ideal for professionals who require fast and reliable storage.

6. Intel Optane 905P

The Intel Optane 905P is a premium SSD that offers lightning-fast speeds and impressive endurance. With read and write speeds of up to 2,600 MB/s and 2,200 MB/s respectively, this SSD is perfect for power users and professionals who demand the best performance.

7. Seagate FireCuda 520

The Seagate FireCuda 520 is a high-performance SSD that offers excellent speed and reliability. With read and write speeds of up to 5,000 MB/s and 4,400 MB/s respectively, this SSD is perfect for gamers and content creators who require fast and responsive storage.

8. Toshiba XG5

The Toshiba XG5 is a reliable and affordable SSD that offers good performance for everyday computing tasks. With read and write speeds of up to 3,000 MB/s and 2,100 MB/s respectively, this SSD provides a noticeable improvement over traditional hard drives.

9. Adata XPG SX8200 Pro

The Adata XPG SX8200 Pro is a high-performance SSD that offers great value for money. With read and write speeds of up to 3,500 MB/s and 3,000 MB/s respectively, this SSD is perfect for gamers and professionals who require fast and reliable storage.

10. HP EX950

The HP EX950 is a budget-friendly SSD that delivers impressive performance. With read and write speeds of up to 3,500 MB/s and 2,900 MB/s respectively, this SSD offers great value for money and is perfect for everyday computing tasks.

Conclusion

Whether you’re a gamer, professional, or casual computer user, upgrading to an SSD can greatly improve your computer’s performance. The top 10 SSDs listed above offer a range of options to suit different needs and budgets. Consider your specific requirements and choose the SSD that best meets your needs. Happy computing!

black and gray computer motherboard

Are you tired of waiting for your computer to boot up or your applications to load? Upgrading your computer or laptop to a solid-state drive (SSD) hard drive can significantly improve its performance and speed. In this blog post, we will explore the benefits of upgrading to an SSD and why it is worth considering.

1. Faster Boot-Up and Application Loading Times

One of the most noticeable benefits of upgrading to an SSD is the lightning-fast boot-up time. Unlike traditional hard drives that rely on spinning disks, SSDs use flash memory to store and access data. This means that your computer can start up in a matter of seconds, allowing you to get to work or play without any delays.

Additionally, applications installed on an SSD load much quicker compared to traditional hard drives. Whether you’re launching a web browser, editing photos, or playing a game, you’ll experience reduced waiting times and a more seamless computing experience.

2. Improved Overall Performance

Upgrading to an SSD can have a significant impact on the overall performance of your computer or laptop. With faster data transfer speeds, tasks such as file transfers, copying large files, and accessing documents become much quicker. This means you can be more productive and spend less time waiting for your computer to catch up.

SSDs are also more reliable and durable than traditional hard drives. Since SSDs have no moving parts, they are less prone to mechanical failure and data loss. This makes them a more reliable choice, especially if you travel frequently or use your laptop on the go.

3. Energy Efficiency and Longer Battery Life

SSDs are not only faster but also more energy-efficient compared to traditional hard drives. Since they don’t have spinning disks, SSDs consume less power, resulting in longer battery life for laptops. This means you can work or enjoy your favorite media for extended periods without having to worry about finding an outlet.

4. Noiseless Operation

Traditional hard drives generate noise due to the spinning disks and moving parts. Upgrading to an SSD eliminates this noise, providing you with a quieter computing experience. Whether you’re working in a quiet office environment or enjoying a movie at home, the absence of a humming hard drive can make a noticeable difference.

5. Easy Installation and Compatibility

Upgrading to an SSD is relatively straightforward, and most modern computers and laptops support SSDs. Depending on your device, you can either replace your existing hard drive with an SSD or add an SSD as a secondary drive. Many SSDs also come with migration software that simplifies the process of transferring your data from your old hard drive to the new SSD.

However, it’s important to note that SSDs have a limited lifespan in terms of the number of write cycles they can endure. While this is not typically a concern for regular usage, it’s worth considering if you frequently write large amounts of data or perform heavy tasks that involve constant writing to the SSD.

Conclusion

Upgrading your computer or laptop to an SSD hard drive can provide a significant boost in performance, speed, and overall user experience. With faster boot-up times, improved application loading, increased reliability, energy efficiency, and noiseless operation, an SSD is a worthwhile investment for anyone looking to enhance their computing capabilities.

So, if you’re tired of waiting for your computer to catch up or simply want to take advantage of the latest technology, consider upgrading to an SSD hard drive and enjoy the benefits it brings to your computing life.

By MellowD / Tips and Advice / / 0 Comments

Installing a SSD or solid state drive in your new Dell notebook or ultrabook PC has many advantages over the older hard disk drives, like faster boot times and longer battery life.

And they are easy to install too, here's how.

But before you begin there are a couple things you need to know.

First, if you're installing an SSD in a new computer, setup will be a breeze, just make sure you have the install discs that came with your computer.

Otherwise, you will need to backup or clone your existing drive.

And before upgrading anything in your computer, it's always a good idea to make sure your system BIOS is up-to-date.

Check Dell's website before you begin.

Next, your work surface should be clean and you should ground yourself first by touching an unpainted metal surface to prevent damage to any components.

And lastly, in many cases, a simple Phillips head screw driver is all you'll need to replace the hard drive in your notebook computer.

With your computer shutdown, remove the power adapter and the battery.

And just to be sure all the remaining power is drained from the computer press the power button after the battery is removed.

Next, find where the hard drive is located.

Usually on the underside of your computer.

If you have trouble finding it, check Dell's website first.

Now, unscrew and remove the cover and you should have a good view of the old hard drive in your computer.

Each model will be slightly different, but carefully remove the screws, to disconnect the SATA and power connector, usually by sliding the drive away from the connection to remove the drive from the computer.

And if you have a supporting bracket, like we do, remove it and set it aside.

When installing the new SSD drive, re-attach any brackets that were used on the old drive to the new SSD drive first.

And it's important the SATA and power connection is securely connected when you slide the SSD into the drive bay.

It'll fit snugly, but don't force it in.

Screw it into place.

Replace the cover and the battery, now flip the computer back over and turn the computer on.

You may be alerted that there's no operating system, just insert the original install discs that came with your computer and restart again and boot from the CD-ROM.

Just follow the prompts to install the operating system and restore from a backup.

And that's it.

If you have any other questions or need additional help installing a SSD in your computer, be sure to visit www.

Kingston.

Com/support for more information.

Thanks for watching.

By MellowD / Tips and Advice / / 0 Comments

Installing an SSD, or a solid state disk drive in your DELL desktop computer has many benefits over the older hard disk drives, like faster boot times, plus, it's really easy to do.

Here's how.

But before you begin there are a couple things you need to know.

First, if you have the install discs that came with your computer, the setup will be a breeze, otherwise, you will need to backup or clone your old hard drive.

And it's always a good idea to make sure your system BIOS is up-to-date first, so check Dell's website before you begin.

Next, your work surface should be clean and you should ground yourself first by touching an unpainted metal surface to prevent damage to any components.

Start by shutting down your computer and removing all cables from the back.

And it's important to remember where each cable belongs when plugging them back in after you're finished.

If you plan on adding the SSD drive, instead of replacing your old hard drive, you need an available drive bay, which should be easily accessible inside the computer, by removing one of the side panels.

In most cases, you wont need any tools whatsoever to remove the side panel, because several computer manufacturers have switched to easy-to-remove thumbscrews or latches.

Otherwise, consult Dell's website before you begin.

Once you get it open you'll have a clear view of the drive bays, find old hard drive and you'll most likely find another bay nearby.

If you don't have a 2.

5" drive bay available, you'll have to attach a bracket, like this, to the SSD to fit the larger 3.

5" drive bay.

Slide the drive in to place with the SATA and power connector facing outwards where you can access them, and line up the holes to screw it securely into place.

Now, locate an unused power cable inside the computer.

Any one will do, just follow the group of cable coming from the power supply until you find one.

Or, use the existing power cable from your old hard drive and connect it to the SSD.

Next, connect the SATA cable from the motherboard to the SSD.

You can follow the SATA cable from your old hard drive to the motherboard to find and available SATA connectrion or use the existing cable that was connect to your old hard drive if your replacing your old hard drive.

Now, connect the other end to the SSD.

Slide the side panel back on, screw it into place, plug the cables back in, and with that done, now turn on your computer and insert the operating system installation CDs.

And when prompted, boot from the CD-ROM drive.

You can now install the operating system to the new SSD, just be sure that if you left your old hard drive in, that you don't re-install over your old hard drive, or you could lose all your data.

And you might also have to change the boot order from the old hard drive to the new SSD before copying over your files or after you restore from a backup.

And that's it! If you have any other questions or need additional help installing an SSD drive in your computer, be sure to visit www.

Kingston.

Com/support for more information.

Thanks for watching.